Key Takeaways
- Fly the Line, Not the Dive: You don't need to physically dive the drone; fly a straight path and use keyframing to simulate the aggressive pitch and roll of an FPV quad.
- FOV is Speed: Dynamic Field of View (FOV) manipulation—stretching the edges of the frame—is the single most effective way to sell simulated FPV drone shots.
- Motion Blur Matters: Without ND filters and correct shutter angles, 360 footage looks jittery; use software-based motion blur if you shot with a high shutter speed.
- The Roll Axis is King: The hallmark of FPV is banking into turns; manually keyframing the horizon roll prevents the robotic "gimbal look."
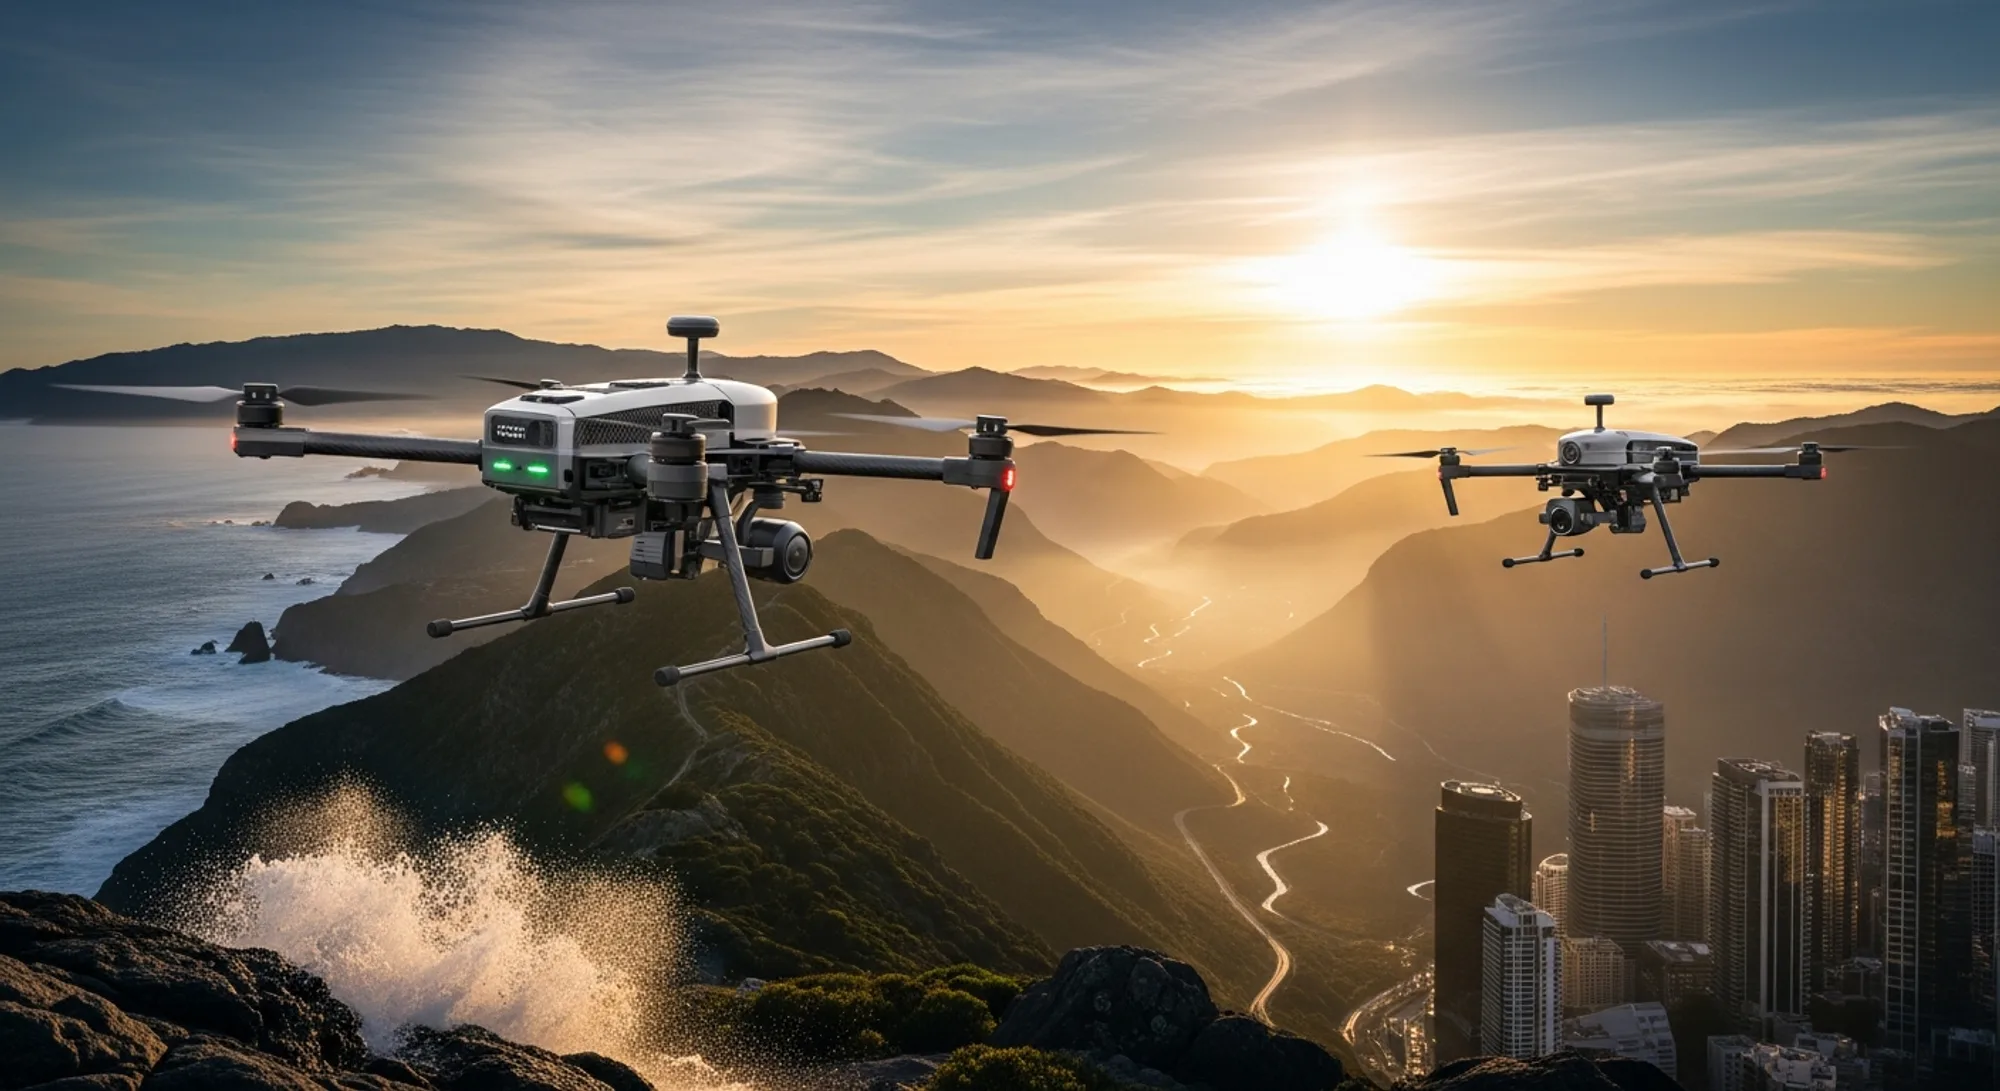
I have spent the better part of a decade strapped into FPV goggles, chasing drift cars and diving down skyscrapers. There is a visceral, heart-in-your-throat adrenaline rush that comes from manual acro flying that a stabilized GPS drone simply cannot replicate. However, not every shoot allows for the risk of sending a carbon-fiber brick hurling toward the ground at 80mph. Sometimes, the client needs the look of an FPV dive, but the safety protocols (or your nerves) require the stability of a Mavic or an Air.
Welcome to the art of fake FPV tutorial tactics. By mounting a high-resolution 360 camera onto a standard GPS drone, we can capture the world in every direction and then—in post-production—mimic the aggressive flight characteristics of a freestyle pilot. In 2026, the software has become so sophisticated that, if done correctly, even seasoned pilots struggle to tell the difference.
This is not about replacing FPV; it is about expanding your toolkit. This guide will walk you through the flight paths, the 360 drone keyframing workflow, and the physics of drone velocity ramping to turn static 360 footage into a white-knuckle dive.
The Physics of the "Fake Dive"
The biggest mistake pilots make when attempting simulated FPV drone shots is trying to fly the drone like an FPV quad. You cannot fly a camera drone in a vertical nose-down dive without the propellers entering the frame or the gimbal freaking out. With a 360 camera, you don't need to point the lens at the subject. You need to focus entirely on the flight path.
For a building dive, you don't actually have to dive. You can fly up. In 360 editing, time is malleable. You can reverse the footage. However, for the most natural gravity physics, I prefer to descend. The key is to descend slowly and smoothly.
Pro Tip: When mounting a 360 camera (like the Insta360 X4 or the newer 2026 enterprise modules), ensure it is perfectly vertical. If the camera leans, the stitch line will wobble, and no amount of Insta360 post-production wizardry will save the footage.
To fix common issues with mounting and stitching, specifically regarding how close you can get to objects before the image breaks, check out my guide on fixing parallax stitching in low-altitude 360 drone ops.
Step 1: The Setup and Capture
To achieve high-quality action drone video editing, you need pixels. In 2026, we are standardizing on 8K 360 capture. Why? Because when you reframe a 360 video into a standard 16:9 flat video, you are cropping in significantly. If you start with 5.7K, your final output might look soft (around 1080p). 8K capture allows for a crisp 4K output.
Frame Rate Strategy
Shoot at the highest frame rate your resolution allows—ideally 60fps or higher. Drone velocity ramping requires slowing down footage at the apex of a dive and speeding it up during the descent. If you shoot at 24fps or 30fps, speeding up the footage looks fine, but slowing it down will result in choppy, stuttering video unless you rely heavily on optical flow interpolation, which creates artifacts.
The Invisible Drone
You must keep the drone in the camera's "blind spot" (the stitch line). Most 360 cameras have two lenses. The space directly between them is not recorded. Mount the camera so the drone body sits in this thin slice of invisibility. However, be aware of the drone's shadow. A simulated dive is ruined instantly if the shadow of a Mavic with a stick sticking out of it appears on the building wall.
For advanced shadow removal techniques using the latest AI tools, read our comparison: Erase the Drone: Firefly vs. DaVinci Neural Engine 2026 Shootout.
Step 2: The Keyframing Workflow
This is where the magic happens. Whether you are using the native manufacturer app or a plugin within Adobe Premiere or DaVinci Resolve, the principles of 360 drone keyframing remain the same. We are going to animate three specific parameters: Pitch (Tilt), Roll (Bank), and FOV (Zoom).
1. The Setup Keyframe (The Apex)
Start your clip at the top of the structure or cliff.
- Pitch: Look slightly up or at the horizon. This mimics an FPV quad "floating" before gravity takes over.
- Roll: Keep the horizon level.
- FOV: Keep it standard (around 100-110 degrees).
2. The Tip-In (The Drop)
Move forward in the timeline to where the drone begins to descend.
- Pitch: Animate the camera to look down. In FPV, to move forward or down, you must tilt the nose down. If the camera looks down but the horizon stays flat, it looks like a gimbal shot. You must keyframe the view to look down into the dive.
- Roll: If your flight path curves even slightly, you must roll the horizon into the turn. A left turn requires a left bank. This "banking" is what subconsciously tells the viewer, "This is a plane or a racing drone," not a tripod in the sky.
3. The Speed Build (The Dive)
As the "drone" falls:
- FOV: Widen the Field of View drastically. Go from 110 degrees to 140 or even 150 degrees ("Tiny Planet" territory, but pulled back). This stretches the pixels on the edge of the frame. As objects pass through these stretched edges, they appear to move faster. This is the secret to simulated FPV drone shots—speed is an illusion of wide-angle lenses.
Step 3: Velocity Ramping (Time Remapping)
Linear speed is boring. Real FPV drones have momentum. They float at the top of a loop (zero G) and accelerate rapidly toward the ground (gravity + throttle). To mimic this, you must use drone velocity ramping.
In your editing software (Premiere/Davinci/Final Cut):
- The Float: Set the speed of the clip at the apex to 50% or even 20% (if you shot 60fps). This hangs the viewer in the air, building anticipation.
- The Acceleration: Ramp the speed curve sharply from 50% up to 400%, 800%, or even 1000% depending on the height of the drop.
- The Pull-Out: As the camera nears the ground/bottom, ramp the speed back down to 100% or 50% to simulate the pilot "catching" the drone with throttle.
This rhythm—Slow, FAST, Slow—is the heartbeat of action sports cinematography. It allows the viewer to register the location, feel the rush of the fall, and then see the exit clearly.
For those looking to understand the importance of sensor data in these maneuvers, specifically how telemetry correlates to what we see on screen, review Flight Log Forensics: Decode Telemetry Data.
Step 4: Motion Blur and "The Jell-O Effect"
One dead giveaway of cinematic 360 editing gone wrong is crisp, stuttery frames during high-speed sections. If you speed ramp footage to 800%, you are skipping frames. Without motion blur, this looks like a slideshow.
Natural Blur (ND Filters): Ideally, you shoot with an ND filter to keep your shutter speed at 180 degrees (double your frame rate). However, on 360 cameras, ND filters can sometimes cause reflection issues or stitching errors if they protrude too far. If you can use them safely, do it.
Artificial Blur (Post-Processing): In 2026, we use tools like ReelSteady or RSMB (Real Smart Motion Blur), or the native "Motion Blur" toggles in Insta360 Studio 2026. These analyze the pixel motion and add directional blur.
- Caution: Don't overdo it. Too much artificial blur looks like a smudge filter. Dial it in just enough to smooth out the fast-forwarded sections of your dive.
Advanced Moves: The Split-S and The Power Loop
Once you master the dive, you can try more complex action drone video editing maneuvers.
The Fake Split-S
An FPV Split-S involves flying forward, rolling upside down, and pulling back through the horizon to dive backward/down.
How to mimic it:
1. Fly the drone straight forward, then stop and descend.
2. In post, keyframe the camera to look forward.
3. Roll the horizon 180 degrees (flip the image upside down).
4. Pitch the camera up (which is now down relative to the ground) to find the landing spot.
5. This creates the disorienting, gravity-defying rotation of an inverted dive.
The Proximity Fly-Through
To sell the effect, you need objects close to the lens. Flying in an open field at 400ft looks slow no matter what you do. Flying 5 feet away from a building wall makes 20mph look like 100mph.
Safety Note: Always maintain visual line of sight and adhere to airspace regulations. Just because the footage looks like reckless FPV doesn't mean you should fly recklessly.
For comprehensive training on safe drone operations and understanding the limits of your aircraft, I highly recommend checking out UAV Coach. Their deep dives into flight dynamics are invaluable for pilots trying to push the envelope safely.
Post-Production Polish: Sound Design
Visuals are only half the story. Fake FPV tutorial videos often neglect audio. A 360 camera records wind noise—useless wind noise. You must replace this.
Sound Layering Strategy:
- Prop Wash: Use a library of high-quality racing drone prop sounds. Pitch-shift the audio up when the video speeds up (high RPM) and pitch it down when the video slows (low RPM).
- Wind Whoosh: Add aggressive wind sheer sounds during the fast descent.
- Ambience: If diving a city, fade in city traffic sounds as you get closer to the street.
This auditory cue tricks the brain. When the viewer hears the motors "scream" during the speed ramp, they believe the drone is actually accelerating, not just the video timeline.
Regulatory Reality Check
Even though you are simulating a dive, you are likely operating at altitude. In the United States, keeping your drone within Visual Line of Sight (VLOS) is mandatory. When flying a 360 camera, you are often looking at a screen that shows a 360 view, which can be disorienting. Ensure you have a Visual Observer (VO) with you.
Furthermore, if you are flying over people or moving vehicles to get that "urban dive" shot, you need to be compliant with Operations Over People rules. Always verify your airspace requirements with the FAA's Recreational Flyers guidelines or your local authority.
The 2026 Software Advantage
The latest updates to Insta360 post-production suites and competitors have introduced "AI Track" features. You can now select a target (like a car or a building entrance), and the software will automatically keyframe the pan and tilt to keep that subject in the center (or rule of thirds). This acts like a virtual gimbal operator.
However, for the FPV look, disable perfect tracking. FPV pilots make micro-corrections; they are human. Perfectly smooth, robotic tracking kills the vibe. I often add a small amount of "camera shake" effect in After Effects to the final export to simulate the vibration of a carbon fiber frame under load.
If you are in the market for a new drone to carry these heavy 360 payloads, you might be debating between bundles. Before you buy, read my analysis on Fly More vs. A La Carte: The 2026 Drone Bundle Value Audit to see if the extra batteries are worth the cost for these energy-hungry flights.
Conclusion
Mimicking FPV dives with a 360 drone is a legitimate stylistic choice that offers safety, repeatability, and resolution that traditional analog FPV often lacks. By mastering 360 drone keyframing, understanding the physics of drone velocity ramping, and respecting the "stick stitch," you can produce breathtaking cinematic content that leaves viewers asking, "How did you not crash?"
Sources & Further Reading
- FAA Safety - Recreational Flyer Guidelines
- UAV Coach - Drone Pilot Training & Industry News
- Insta360 - 360 Camera Hardware & Software
